How To Paint A Stokke Tripp Trapp
I've been promising to write this post for a couple of years so, after a flurry of questions from fellow Stokke addicts eager to restore their pre-loved, un-loved, Tripp Trapp bargains to their former glory, here's how to paint a Stokke Tripp Trapp. #ChairForLife
First things first...
Altering your Tripp Trapp in any way invalidates your warranty, so please take that into consideration before going crazy in the paint aisle.
Pre-loved
If you are lucky enough to stumble across a Tripp Trapp in a charity shop, thrift store or boot sale (it is rare but it does happen), it's fate and it's your duty as a Stokke Lover to mount a rescue and provide it with a new and happy home.
Second hand bargains on ebay and Gumtree are still out there, but search in your local area for 'collection only' listings as they tend to be cheaper.
Planning
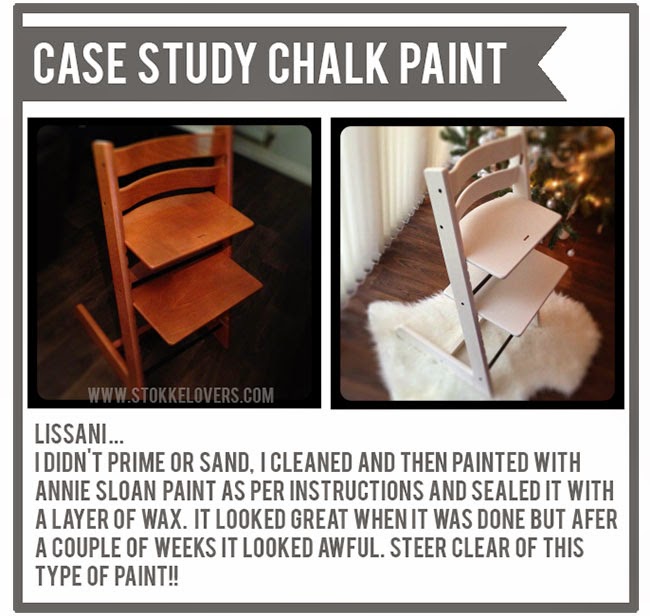
Before you get stuck in, give the paint you are planning to use careful consideration. If your new Tripp Trapp is going to be in daily use, I would steer clear of chalk paints like Annie Sloan or Autentico. They might be all the rage, but they aren't made to withstand toddlers!
For the best finish, go for a multi purpose spray paint. Painter's Touch and Plasti-Kote are both perfect with lots of colours to choose from.
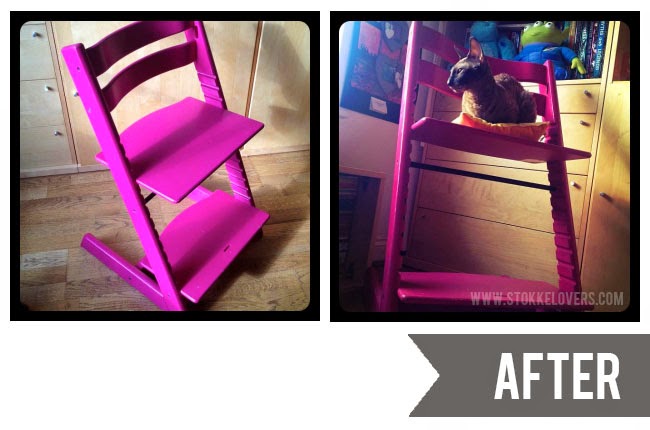
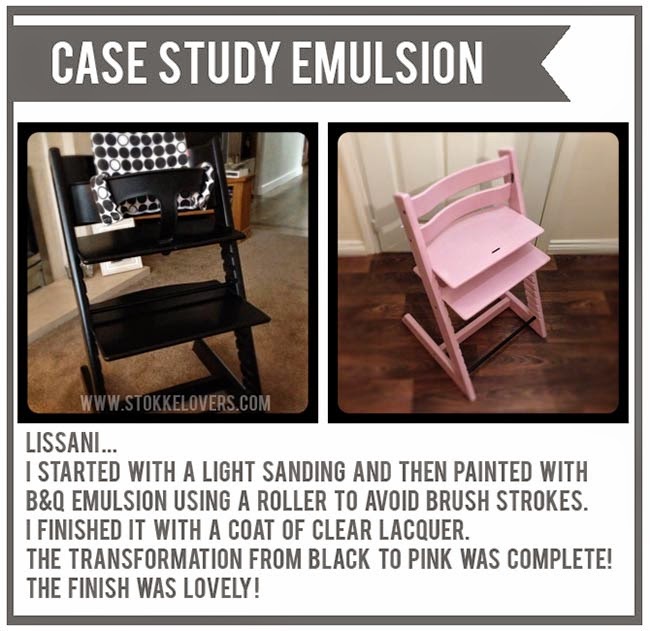
I wanted my Tripp Trapp to be the same bright pink as my office wall, so I used a tin of leftover satin emulsion and a paintbrush but you really can use anything. Just adapt the method below.
Preparation
Preparation is everything if you want your finished Tripp Trapp to look flawless. And, yes, I know you're excited but this really is the most important step.
The first Tripp Trapp I painted was my original un-treated, natural, that was bought back in 2000 (before I worked for Stokke). It's been used daily since then and wasn't really in need of a makeover, but I had half a tin of bright pink emulsion that was yelling USE ME.
Because my Tripp Trapp is un-treated it didn't need much prep, but if you are working on any other finish you do need to give it a good all over sanding before you begin.
There are two reasons for this; 1. To remove any surface scratches and 2. To ensure you can get it back together when you've finished painting it!
After sanding, give it a thorough clean with a non abrasive cleaner like Sugar soap and then leave it to dry naturally, overnight if you have to, but don't rush!
Get ready!
For a professional result you need to take your Tripp Trapp to pieces before painting it. Yes, it takes longer to paint, but skipping this bit of advice will come back to bite you when you want to make alterations as your child grows.
I know this is obvious but put your screws and metal bars somewhere safe and away from your painting area!
Priming
Both Painter's Touch and Plasti-Kote primer are perfect. If you aren't spraying, use a gloss roller, rather than a paintbrush to prevent those annoying brush strokes from ruining your project. If you are spraying, make sure you are in a well-ventilated area (and that your cat isn't hiding ready to join in and help without warning).
Lay the pieces out so that they don't overlap and give your paint a really good shake.
Apply a light even coat of primer to each piece and leave to dry.
Apply your second light coat and then leave them dry completely before turning over and repeating on the other side.
Don't be tempted to go crazy and use too much paint or you will have difficulty when it comes to assembling. Drying time will vary depending on your primer so read the label on the tin and follow the manufacturer's instructions. It needs to dry completely before applying your colour!
Painting
You will need two or three, light coats of colour to get a professional, even finish. If two coats is all it needs, you don't need to add another.
Apply your first coat of colour in the same way as the primer and leave to dry.
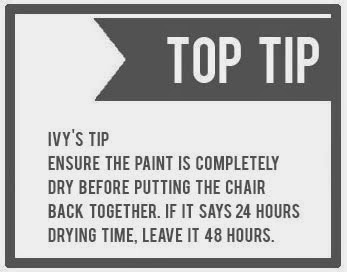
Apply your second coat (and third if needed), then leave for 24 hours to dry completely before turning over and repeating on the other side.
Top Coat
There are lots of top coats to choose from, depending on the finish you want to achieve. I like Rust-oleum's Crystal Clear.
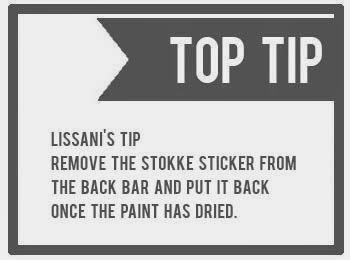
Apply two light coats as above and leave to dry completely before assembling.
Put your newly-painted Tripp Trapp back together again.
That's it!
If you need colour inspiration, check out the Pantone iPhone app it's awesome! If you have before and after pics from your own Tripp Trapp makeovers, we'd love to feature them. Pop us an email with your pics, what paint you used and any top tips you have and we'll feature you as a case study.
A very big thank you to Lissani and Ivy for the case study pics.
We've found a couple of additional Tripp Trapp makeover posts over at Mummy2Five and The Keifer Cottage.





10 comments
Thanks for these great tips! I'm hoping to score this used Tripp Trapp from Kijiji. Wish me luck!
ReplyDeleteExcited to get started! Scored a Stokke for $45. Red is not my color so excited for this makeover.
ReplyDeleteDid you find the paint scuffed when you adjust the seat? I’ve just painted a chair with undercoat and 3 top coats and it’s already scuffing just putting it back together
ReplyDeleteWhen painting your coffee table, you need a paint sprayer that is lightweight and fit for the job. Check these Kitchen Spraying for your next great painting tool.
ReplyDeleteThe furniture must harmonise with the type of space in which they are located. This means that you must take into account the color of the floor, that of the walls or the particularities that the ceiling may have. conscious-cubby.com
ReplyDeleteTry having a large rug the covers the most of a living room and put a rug on top of the under a table or sofa. The key is to have mismatched patterns to show the intention behind the style. Moroccan furniture
ReplyDeleteIf you’re a romantic, it’s time to bring your more fairy-tale and elegant style straight to your dining room. I recommend oak tables to make your dining beautiful.
ReplyDeleteI want to refinish a secondhand tripp trapp I recently found it is currently purple and I would like to strip it and stain it a more natural wood color. Do you have a recommendation on the best sandpaper grit to use? I don't know much about refinishing but know that I don't want to cause deep scratches. Thank you for any advice you can give!
ReplyDeleteThoughtful blog you have here.
ReplyDeleteAppreciate your blog postt
ReplyDelete